
Cleaning Up an Old Lampshade to Recover
I have long been fascinated by lamps and lampshades. My father taught me how to rewire a lamp when I was a kid, and I have rewired dozens since that lesson. But it wasn’t until the pandemic hit in 2020 that I discovered I had the skills – and the cache of fabric scraps – to make my own lampshades.
In fact, for me the first step in making a lampshade often starts with the fabric, not the lamp needing a shade, the room needing more light, or even a torn shade needing replacement. Sometimes a lampshade becomes a way to pull the fabric from curtains, pillow covers, or upholstery into another corner of the room. Sometimes it’s a way to use up a favorite remnant or sample, or to repurpose old curtains and table covers. Nearly always, it’s a way to tell a story (albeit sometimes one that only speaks to me).
Here are the materials and tools I use to clean up an old lampshade frame:
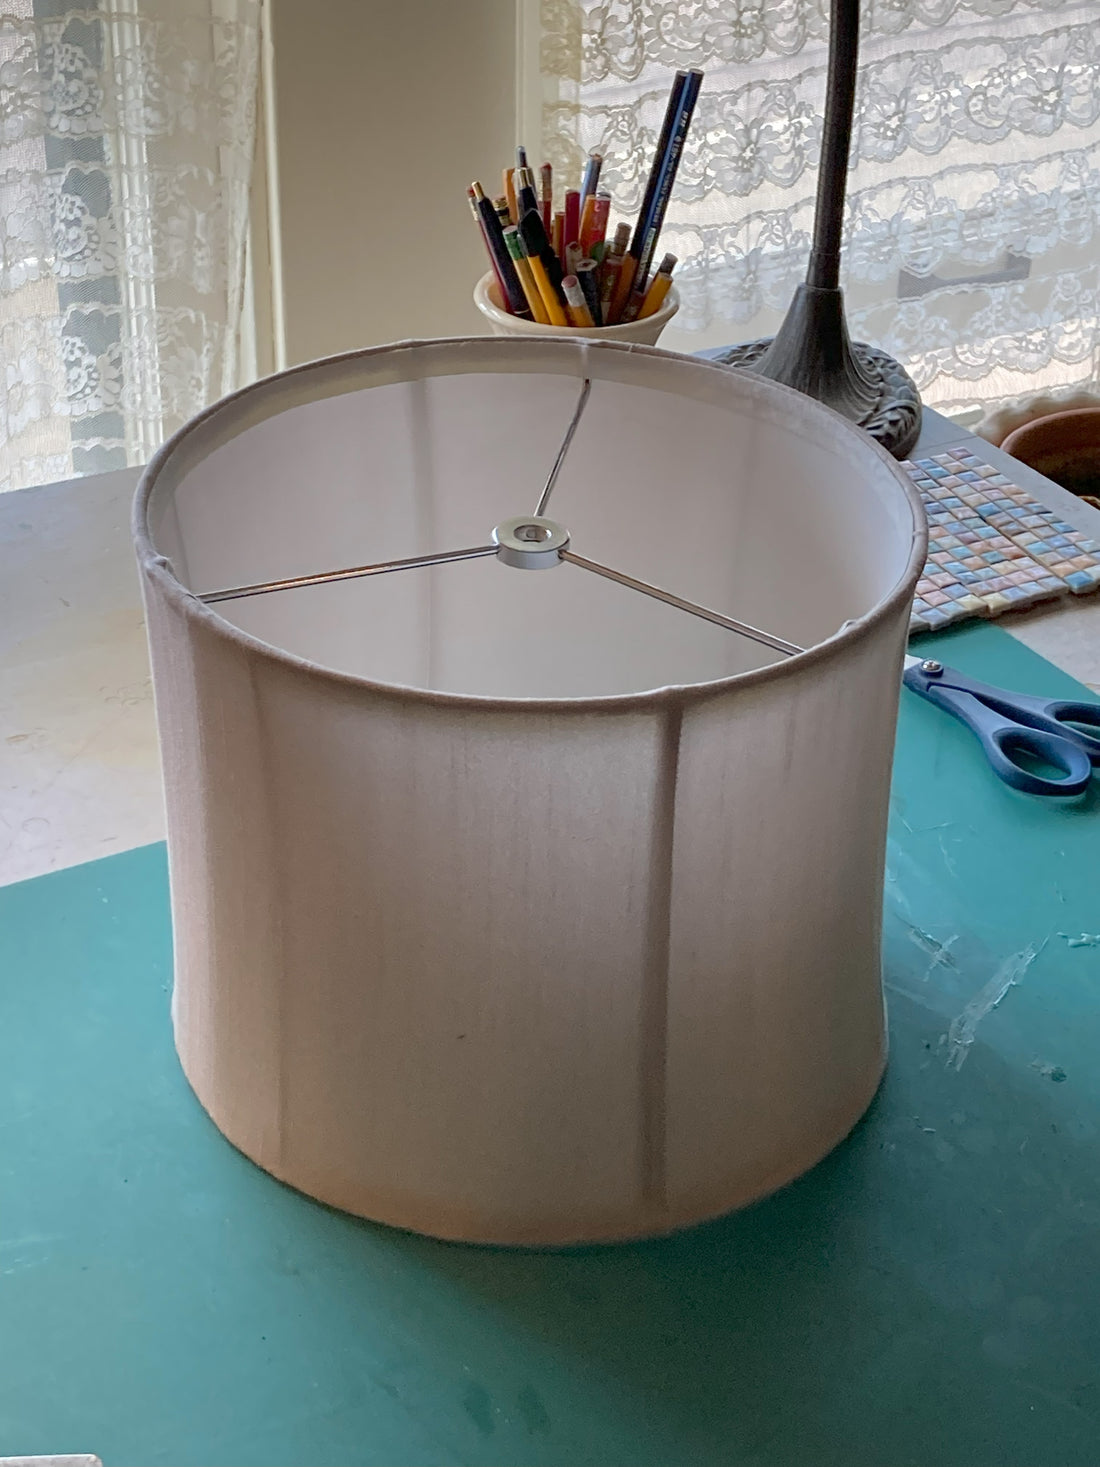
- a lampshade frame (with struts connecting the top and bottom rings, indicating it is meant to be covered with fabric, not paper)
- pliers
- old dental tool
- scraper
- flat head screw driver
- acetone and cotton balls
- cotton twill tape or 1.5” wide strips of cotton muslin, four to five times the largest circumference of the shade
- matching cotton thread(s)
- hand sewing needle
- thimble

I source the lampshade frames we use at home from Goodwill or Habitat’s Restore, where I can usually get them for less than $5. This requires patience and flexibility, checking every few weeks until I find the right size and shape in a fabric supporting frame. I look for frames with torn, stained, or outrageously dated fabric covers, leaving the nicer ones for other people. In most circumstances I try to find a lampshade that will comprise one third to one half of the total height of the lamp, and is at least as wide as the widest part of the lamp. Too big is usually safer than too small, and most of the time the shape of the shade should enhance the shape of the lamp. But all rules are made to be broken, so sometimes I just go with what my eyes tell me might work. I prefer lampshades which use spider fitters and harps, since that is what most of my lamps accommodate (and remember, the harp should be sized to the lampshade, not to the lamp).

When I bring the lampshade home, my first step is to see how it looks on the lamp. Check it from straight ahead, above and below, to make sure the shape and size work with the lamp. I will also drape my fabric on it, especially if I haven’t quite made up my mind which fabric I want to use yet. My best friends at this point are clothes pins and binder clips to hold the fabric on the shade so I can step back to see how it might look.
The next step, once I’ve assembled all my tools and materials, is to rip off the existing cover. I have two goals at this step. First, a clean, bare frame. And second, the old cover and lining to use as pattern pieces. Because this can be messy, I will cover my worktable with newspaper or an old cutting mat. Most lampshades are made by applying the cover fabric first, the lining second, and trim at the end, so I reverse this to strip the shade. I start by gently removing any trim from the shade, trying not to damage the outer cover or lining. If the shade is a spider fit, I will also remove the pieces of tape or ribbon which cover where the spider legs and upper ring are soldered together. Once the trim is off, I can usually see whether the shade fabric has been glued or sewn on. If it is sewn, I begin carefully snipping the threads holding the lining in place, and then snip those holding the outer cover. If it is glued, which most are, I can usually ease the lining away from the frame by rolling the glued edges back on themselves towards the inside of the shade, and then reversing that motion to release the outer cover. I often use pliers to provide the gentle persuasion this step requires.

If I am lucky enough to be working with a sewn shade, and I don’t see any issues with the frame, I will leave the binding the fabric was sewn to and skip the next two steps!
Once the fabric covers have been removed, I scrape off as much glue as I can from the bare frame. I mostly use an old metal scraper, an old flat head screwdriver, and a dental tool.

I then wipe the frame down with acetone (find it next to the nail polish remover at the drugstore, and in large containers at the hardware store) to remove any residual glue, and then gently wash and rinse the frame and let it air dry. If I notice rust or breakage, I will fix it if I can after the frame is cleaned and dry. If the breakage can't be repaired, I figure my investment so far has been just a little time and money so I will call it a day and start over with another frame. Rust can usually be scraped off and covered with clear nail polish or metal primer. If something is broken, like the solder holding a strut to the frame, I’ve had success reattaching the piece with E6000 glue, but not with super glue. Be careful using acetone after making either of these repairs, since it is designed to dissolve nail polish and glue.
The next step is to bind the clean, bare frame, creating a tight firm base to sew the cover and lining to. A great tutorial which I come back to often, can be found here. The India tape used in the UK is similar to twill tape, but I often use strips of muslin cut on the straight grain. It is best to use straight cut binding, not bias tape, to minimize stretching in future steps. I usually use 1.5” muslin strips folded in half, so I only have one exposed cut side to cover as I wrap. I wrap as tightly as I can, wrapping figure eights around each strut as in the video.
Once my shade is bound, I will take a break, admire my work, and stretch my fingers. There’s lots of hand sewing coming up.