
How I Make a Simple Pillow Cover
I love to make throw pillow covers! I love fabric, and throw pillows are a great way to showcase beautiful textiles. Stunning fabric weaves a story throughout our home, and we change many of our pillow covers with the seasons. I love a change, and this way I can enjoy four times as much pattern, color, and texture!
Six years ago, we adopted a new rescue pup, Jacob, who turned out to be the first dog we’ve had who loved to sit on furniture. I was initially alarmed, and ransacked my fabric stash to find enough washable pieces I could use to cover our throw pillows, and still be able to change with the seasons. We’ve all relaxed since then, and now my criterion for pillow covers is simply that I love the fabric.
Most of the throw pillows in our house are common sizes: 20” square, 18” square, 16” round, and 14” by 22” lumbar. To be completely honest, a few still wear covers we bought years ago at Pottery Barn, Crate & Barrel, and Restoration Hardware. But the great majority are now made from fabric scraps and leftovers. We’ve got pillow covers made from my mother’s old curtains and from upholstery remnants and samples. Our current set of winter pillow covers for the living room are made from a packet of cotton velvet upholstery samples in four different colorways we picked up for just $10.
To make a pillow cover, I start by thinking about the story I want to tell, and then look for the fabric to tell it with. I don’t really worry about washability any more.
Here are the materials and tools I use:
- Fabric for pillow front and back
- Muslin or lining fabric (optional)
- Invisible zipper
- Sewing machine
- Invisible zipper foot
- Regular zipper foot
- Sewing gauge
- Serger (optional)
- Pins
- Scissors
- Measuring tape or quilt rulers
- Cutting mat, minimum 18” by 24” (optional)
- Rotary cutter (optional)
There are lots of choices when planning the overall look of a pillow cover. The front and back could be the same or different fabrics. The edges could have welting, piping, lace, or ruffles. Either side could pieced or embellished. The closure may or may not be at the bottom and may or may not be a zipper. A pieced front (or front and back), could be further embellished with topstitching or trim to accentuate the piecing seams. I will talk about these optional details and more in a later post; for now, I will construct a simple lined pillow cover with an invisible zipper along the bottom edge.
To determine how much fabric I need for each element of the cover, I first measure pillow insert. Many people like a cover which is a size smaller than the insert, for example, a 20” square cover for a 22” square insert. However, I size my covers to the size of the pillow form (most of our throw pillows are stuffed with feathers). That’s just the way I like it; there’s no right way or wrong way.
Regardless of the finished size desired, the fabric pieces all need to be 1” larger in each direction to allow for 1/2" seams, or 1.25” larger in each direction to accommodate 5/8” seams (like most sewing patterns). So, to create a finished 20” square pillow cover, cut front and back pieces which are either 21” or 21.25” square, and two pieces of lining cut to the same size. For a finished 14” by 22” lumbar pillow, cut front and back pieces which are 15” by 23” or 15.25” by 23.25” and two pieces of lining the same size.
Many upholstery samples, at 24”-27” square, are large enough to make one side of most pillow covers and can be obtained or purchased from an upholstery shop for very little.
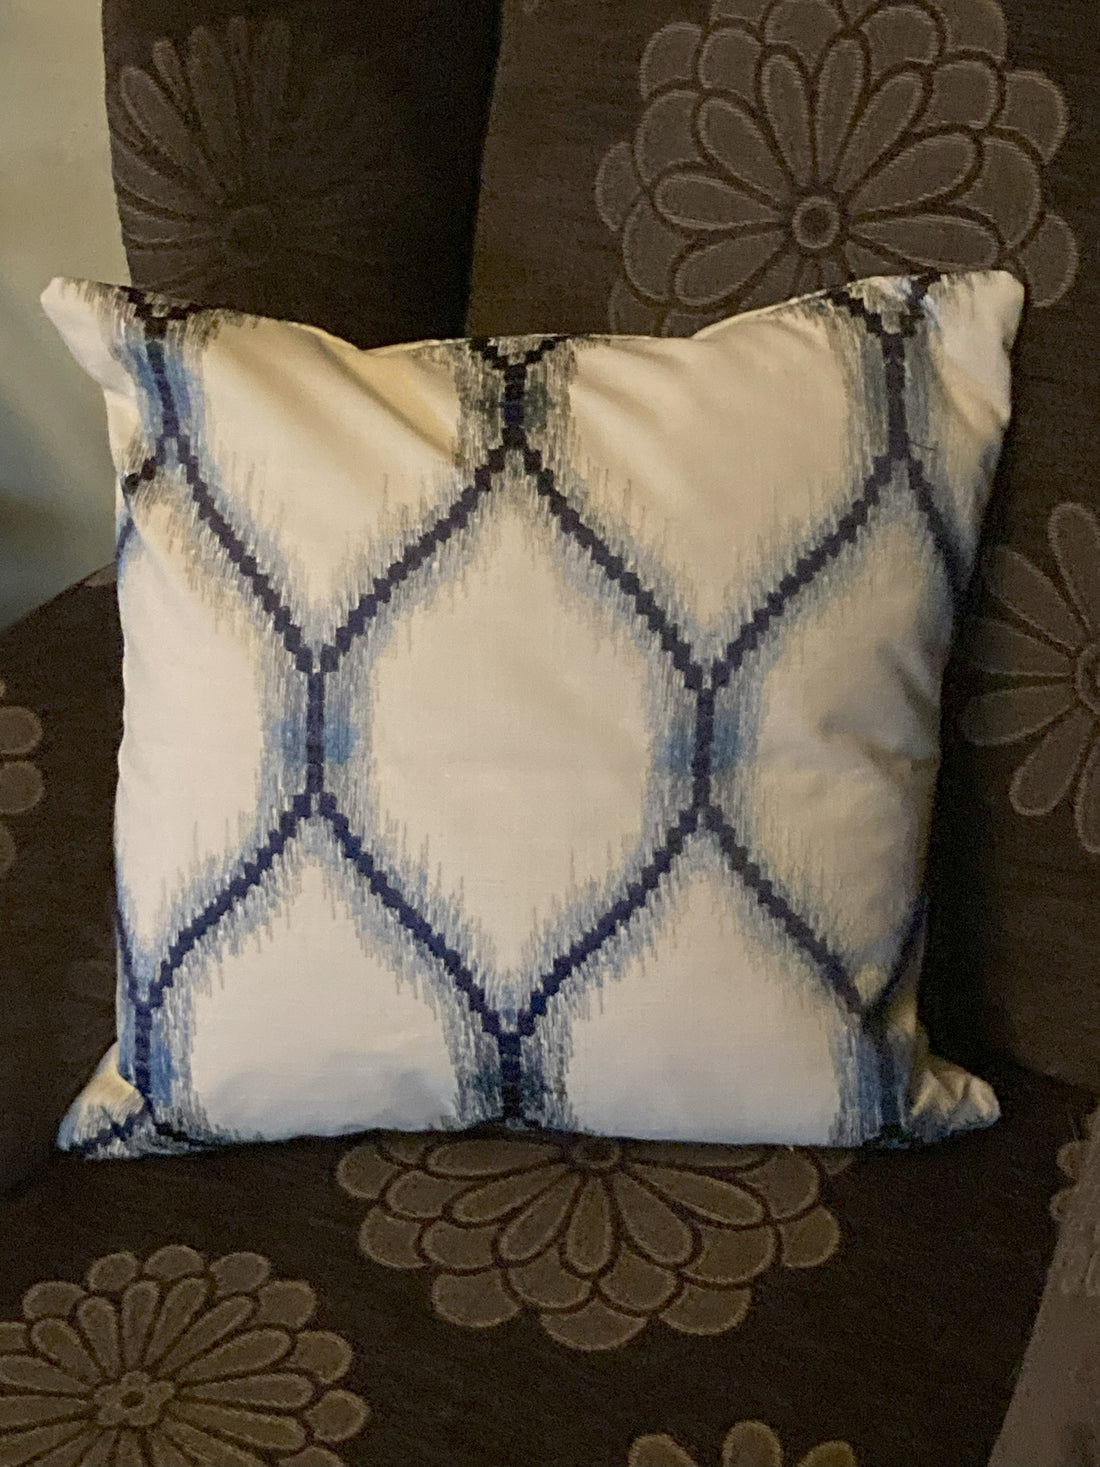
Today I am making a cover for an 18" square pillow with a $5 remnant. Since the fabric is a full 54" wide, and is 20" long across most of the width, I have just enough fabric for both a front and back. Because I would like this strong pattern to match at the edges, I first cut one 19" square, then set the piece over the remaining fabric, matching the pattern along each side, and cut the second piece.


I've decided to line this pillow cover, so I also cut a length of muslin to 19", and then cut it into two pieces which I will trim to size later.

Since I am using a lining, I’ll start by pinning and then basting a lining piece to the wrong side of each front and back piece. From this point on, the steps are the same, lined or not.
I finish the bottom edge of the front and the back by zigzagging or serging. Following the directions in the zipper package, I then sew the invisible zipper to the bottom of the front and back pieces using an invisible zipper foot. I need to make sure I am using the seam allowance I cut for (1/2” or 5/8”) and to match the points where each side of the zipper begins and ends so the other edges of the two fabric pieces align. Especially if I am using a 1/2" seam allowance, I don’t have a lot of wiggle room if the zipper application means my other edges don’t match.


Once the zipper application is complete and double checked, I pin the front to the back, right sides together, pinning each corner and along the sides, and leaving the zipper at least half-way open so I can turn the pillow cover when I'm done. Using a regular zipper foot, and keeping the zipper itself free of my sewing, I begin sewing just before the point where my zipper seam ends, as close to the seam as I can get without catching the zipper in my new seam. I sew a couple of stiches back and forth a few times to secure the seam, since this point will be stressed each time I change out the cover.

Using the seam allowance I cut for, I sew around the four corners and three open sides. I often try to sew a very slight curve around each of the corners, rather than a point. After rounding the fourth corner, when I reach the other edge of the zipper seam, I will sew just past its start, and then back and forth a few times to secure the seam.

After cutting the thread, I carefully trim any other stray threads, and turn the pillow cover to the right side. I always double-check the appearance before finishing the edges and redo any problem areas. Once I am satisfied with the look of the pillow cover, I will finish off the three sewn edges as I did the zipper edge along the bottom earlier, by serging or zigzagging. Then I’ll finally press the cover to set the stiches and remove any production lines and wrinkles. Now I can enjoy my new pillow cover!
